Prepare a Publication (Tutorial)
| Abbeviations Key |
DOI | |
HISE | |
HTML | hypertext markup language |
URL | uniform resource locator |
At a Glance
This document explains how to create a publication, attach assets to it, request approval, and modify it after approval if necessary.
Description
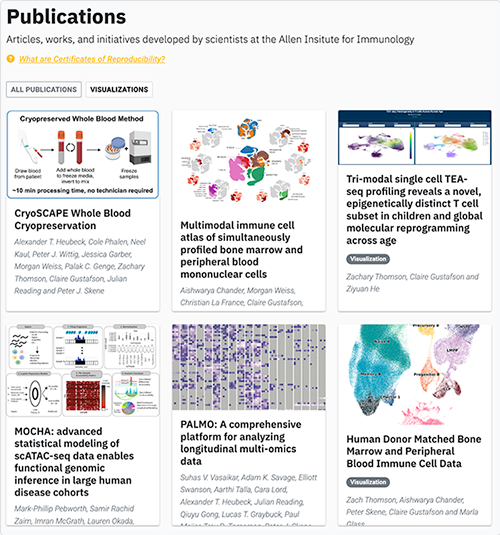
Sometimes the result of a collaboration is a scientific manuscript, such as a journal article or conference poster. You can share such publications to the public HISE portal within a study. A publication consists of a report and supporting metadata, such as title, authors, and a hero image. In addition, you can provide a visualization, file set, notebook file, or associated Github links. The publication is rendered as an HTML page in the HISE portal.
Instructions
 Create a publication
1. Navigate to HISE and use your organizational email address to sign in.
2. From the top navigation menu, choose Collaboration Space > Your Studies, and click the card for the study you want to work with.
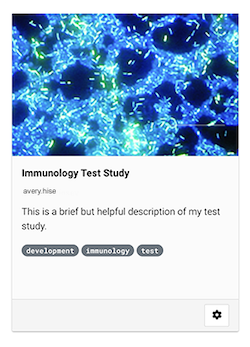
3. On the Studies > [Your Study] page, in the side navigation menu, click PUBLICATIONS.
4. On the Publications page, click Start New Publication.

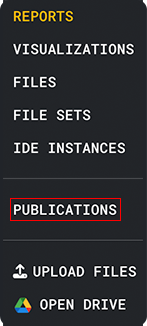
5. In the Start new publication dialog box, in the Select the starting report field, click the arrow and choose a report name from the drop-down list.
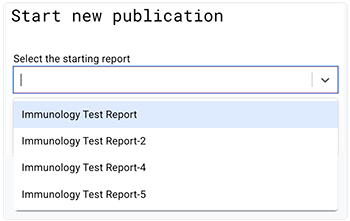
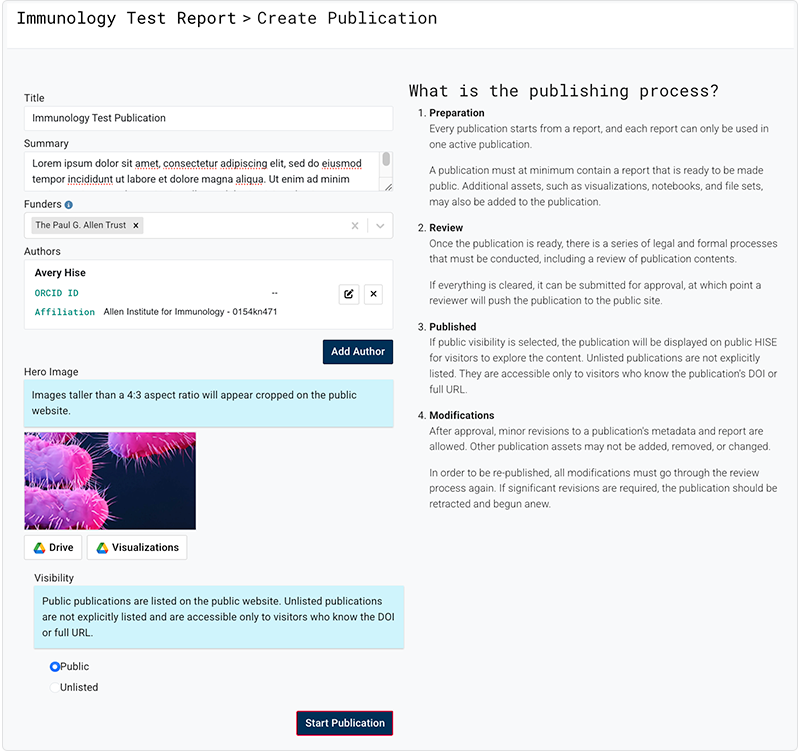
6. In the Create Publication dialog box, supply the requested information.
A. In the Title field, enter the title of your report.
B. In the Summary field, give a brief but useful summary of your research for those who are unfamiliar with it.
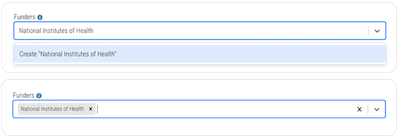
C. The Funders field defaults to The Paul G. Allen Trust.
i. To keep the default funding source, do nothing. To remove it, click the X to the right of the tag.

ii. Enter any additional funding sources, and press Enter.
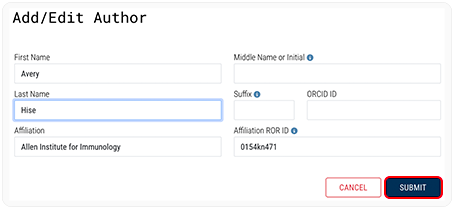
D. In the Add/Edit Author dialog box, enter the author's first name, last name, and other requested metadata, and then click SUBMIT.
i. If the author is not affiliated with AIFI, replace the default entries in the Affiliation and Affiliation ROR ID fields. To look up the ROR ID, visit the ROR search page.
ii. In the ORCID ID field, enter the author's ORCID ID if known. To look it up, visit the ORCID registry.
iii. In the Suffix field, add "Jr," "IV," or another generational suffix. Don't enter academic credentials, such as "PhD."
E. Hero Image. Images taller than a 4:3 aspect ratio will appear cropped in the public portal.
i. To upload an image from Google Drive, click Drive.
ii. Alternatively, to upload a saved visualization from Google Drive, click Visualizations.
For details, see Customize the Hero Image in Prepare a Report (Tutorial).
F. Visibility defaults to Public. Public publications are indexed by search engines. To make your publication Unlisted, click the radio button. Unlisted publications are visible only to those with the correct DOI or URL.
7. Click Start Publication.
8. (Optional) To see how your publication will look in the public portal, click Preview Mode any time before publication.
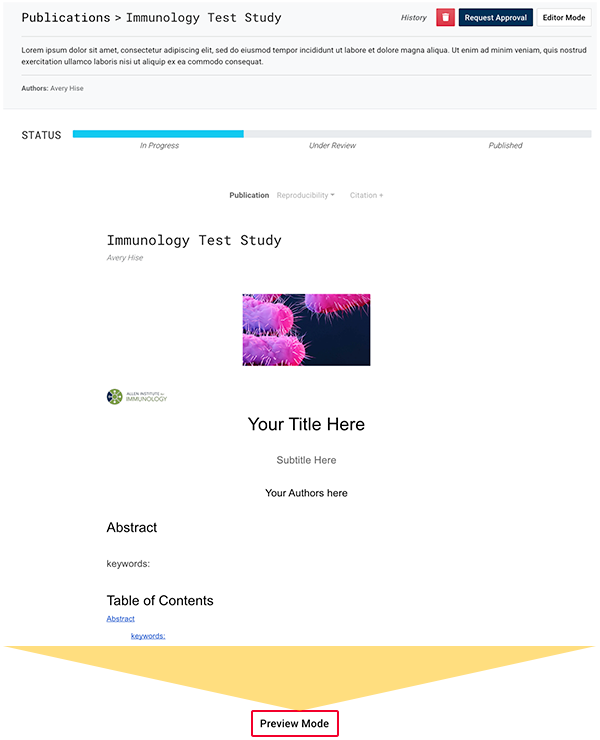
9. (Optional) On the Update Publication page, review the metadata for your publication. You can change the title, edit the summary, add or remove a funder, add or remove an author, change the hero image, or change the visibility.
A. To see your changes in Preview Mode before you save them, click Refresh Report.

B. When you're satisfied with your changes, click SAVE.
 Attach assets to your publication
1. Upload a file set:
A. In the left navigation menu, click File Sets.
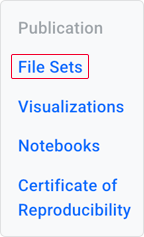
B. In the Update File Sets dialog box, in the Selected File Sets field, click the arrow to the right, and choose a file set from the drop-down list. Repeat this step for each file set you want to attach.
C. Click Save.
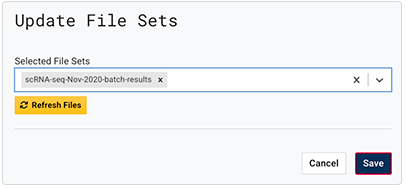
D. The selected file sets then appear on the screen (2 files, in this case). If the files are not already attached to the Certificate of Reproducibility, add them now by clicking Add to Certificate (recommended).

2. Upload a visualization:
A. In the left navigation menu, click Visualizations.
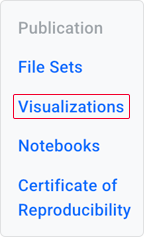
B. In the Update Visualizations dialog box, in the Selected Visualizations field, click the arrow to the right, and choose a saved visualization from the drop-down list. Repeat this step for each visualization you want to attach.
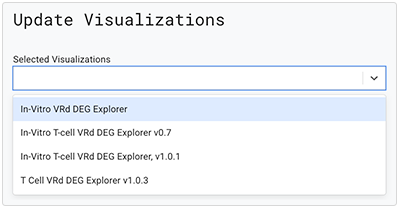
C. Click Save. If prompted, save the asset to your Certificate of Reproducibility.

D. (Optional) Alternatively, you can create a new visualization or attach an existing one that's not yet associated with your report.
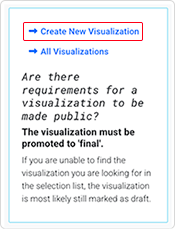
i. To create a new visualization, click Create New Visualization.
ii. To attach an existing visualization:
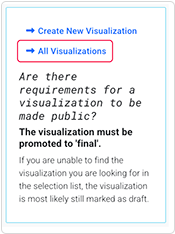
a. Click All Visualizations.
b. To filter out visualizations in draft mode, click Final and Publishable.
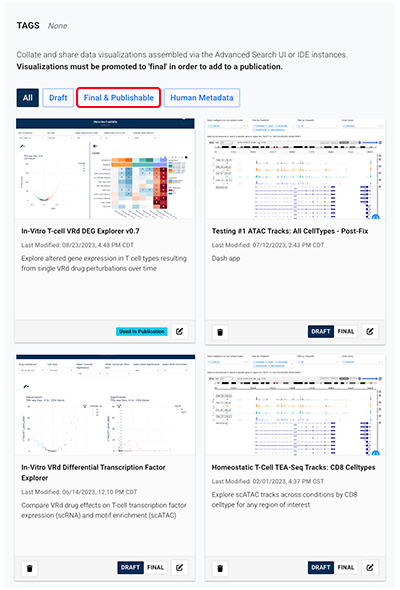
c. Choose the visualization you want to attach, and click Select. (If you don't see a given visualization in the selection list, ensure that your visualization is marked FINAL in your study. To mark a visualization FINAL, see Work with Studies.)

d. Click SUBMIT.

E. On the Visualizations page, tags appear on the visualizations that are now associated with your publication.

3. Upload a notebook:
A. In the left navigation menu, click Notebooks.
B. In the Update Notebook and associated items dialog box, in the Selected from Saved IDEs field, click the arrow to the right, and choose an IDE from the drop-down list. Repeat this step for each IDE you want to attach.
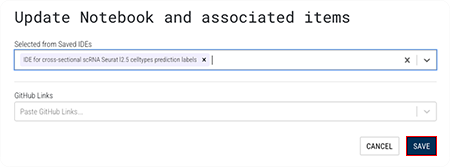
C. Click SAVE.
4. Attach a Certificate of Reproducibility:
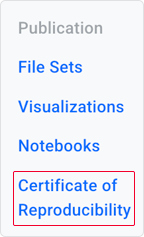
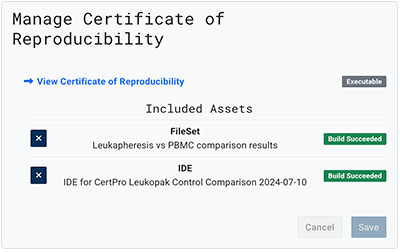
A. In the left navigation menu, click Certificate of Reproducibility.
B. On the Manage Certificate of Reproducibility page, to review your certificate, click View Certificate of Reproducibility. For details, see Understand Certificates of Reproducibility.
 Request approval
1. Request approval of your publication, go to Publications > Update Publication.
A. Near the upper-right corner of your screen, click Request Approval.

B. In the Request Approval dialog box, click Request.
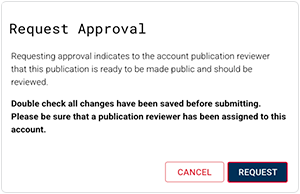
C. A notification appears to confirm that you've requested approval, and the status tag at the top of the page changes to Under Review.


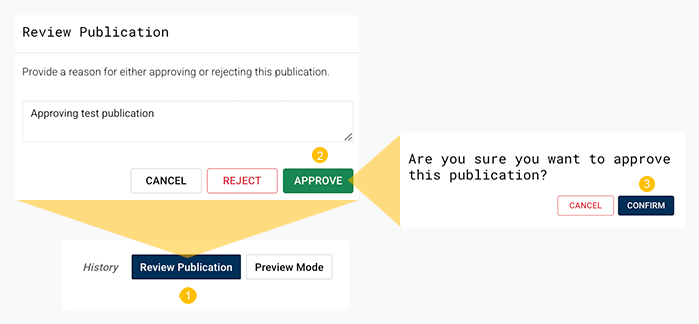
D. A dedicated publication reviewer reviews and approves or rejects the publication, as shown in the image. This step is shown for your information. There is nothing you need to do until the publication reviewer completes these steps. On approval, your publication is pushed to the public portal.
 Modify your publication
1. After approval, return to Publications > Update Publication:
A. Confirm that the status tag shows Published.

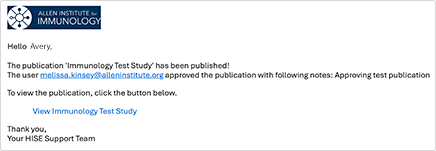
B. You will receive an email notification with a link to the publication. Click the link, and review your publication in the public portal. Alternatively, for instructions on finding the URL for your publication, see Step 5.
C. Modify your publication:
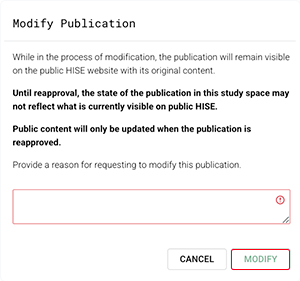
i. Click Modify Publication near the upper-right corner of the page.

ii. In the Modify Publication dialog box, read the information, enter an explanation, and click MODIFY.
 Share your publication
1. Open the HISE Publications page, and find the card that represents your publication.
A. To copy the URL, right-click the card, and choose Copy link address.
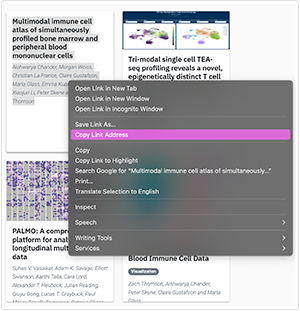
Alternatively, click the card, and copy the URL at the top of the page.
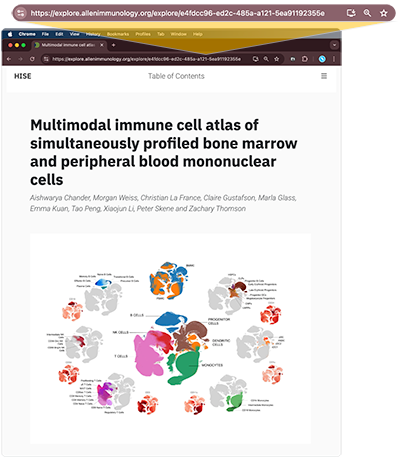
B. You can also use the DOI number to share or cite your publication. Unlike a URL, the DOI never changes, and it works even if your publication is publicly unlisted.
i. To find the DOI, at the top of the card, click Citation +.
ii. In the dialog box that opens, copy the DOI.


 Related Resources