Last modified 2025-10-13 |
Attach Metadata to Make Files Searchable (Tutorial)
At a Glance
 | Abbreviations Key |
| CSV | comma-separated values |
| cvf | create verbose filename |
| ELN | electronic lab notebook |
| GUID | globally unique identifier |
| gz | gzip |
| HISE | Human Immune System Explorer |
| IDE | integrated development environment |
| NA | not applicable |
| SLIMS | Simple Laboratory Information Management System |
| tar | tape archive (Linux command) |
| UI | user interface |
Automated pipelines let HISE generate result files with attached subject and sample metadata, standardizing data processing for each assay. Certain types of files, however, such as those containing experimental or pilot data, are unsuitable for pipeline ingestion and must be manually uploaded to a Project Store and then downloaded to an IDE. Metadata is not attached to these files.
There are two options for attaching metadata. The first, which we recommend for transparency, reproducibility, and searchability, is to associate metadata with your files at ingest. The second option is to attach the metadata later, after some experimentation. This document offers instructions for both options.
Finally, some projects require that specific demographics data be submitted through a watchfolder. For details, click the button.
Option 1: Attach Metadata at Ingest
The first way to add metadata is to attach it at ingest to files destined for a Project Store. To begin, contact Support and ask that Yousef Aggoune predefine your manifest in SLIMS. Then tar up your files and ingest them into a watchfolder.
| To make your work reproducible and easily findable in an advanced search, attach metadata to your files at ingest. |
File manifest
The manifest lists all files to be ingested, along with their file types and sample references. To ensure that HISE recognizes the file, it must be named manifest.csv. The accountGuid and projectGuid are supplied by the HISE Support team, not by the user. Contact Support to request a predefined file manifest. If you really want to look up the GUIDs on your own, see the FAQs page.
Below is a sample manifest.csv file.
- Lines 1 and 2. The first two rows show the account and project to which the file data belongs. This information is not required but helps ensure that the metadata is associated with the correct account and project (for example, if the file is dropped into the wrong watchfolder).
- Line 3. The third line is a static header showing three columns:
file, samples, and fileType. If a file is not associated with a sample, the special keywordreferencecan be used instead ofsamples.
| On the Watchfolders screen, the far-right column, Accepted File Types/Content Type, shows which file formats the watchfolder accepts. If the file type you want to use isn't listed, contact Support. |
- Subsequent lines. The remaining lines contain the actual metadata: each file name, the specific sample(s) with which it's associated, and the file type. Multiple samples are separated with a semicolon
(;)as the delimiter.
When a blank cell is ingested, HISE skips it and uses the previous entry or value for that subject in the sample UI page and SDK output. This causes an error but does not generate an error message. To avoid this issue, write NA in any null cells. |
| accountGuid | 10f58583-1cdf-4f18-8de4-dc1ca94783e2 | NA |
| projectGuid | e206cf7a-5b13-478f-b842-a305fe4954d8 | NA |
| file | samples | fileType |
| population-stats.csv | KT00970;KT01245;KT01244;KT00971 | FlowCytometry |
Instructions
 Create a manifest
1. Navigate to SLIMS, and use your organizational email address to sign in.
2. From the top navigation menu, click the Content tab.

3. Use the filters and checkboxes to find and select the project for which you want to create a manifest file.

4. Remain on the Content tab, and click the ELN tab.

5. In the ELN section, follow the instructions below.
A. Select the content you want to work with.
B. An ELN notebook opens.
C. Select the block with your content.
D. Click the compass icon.
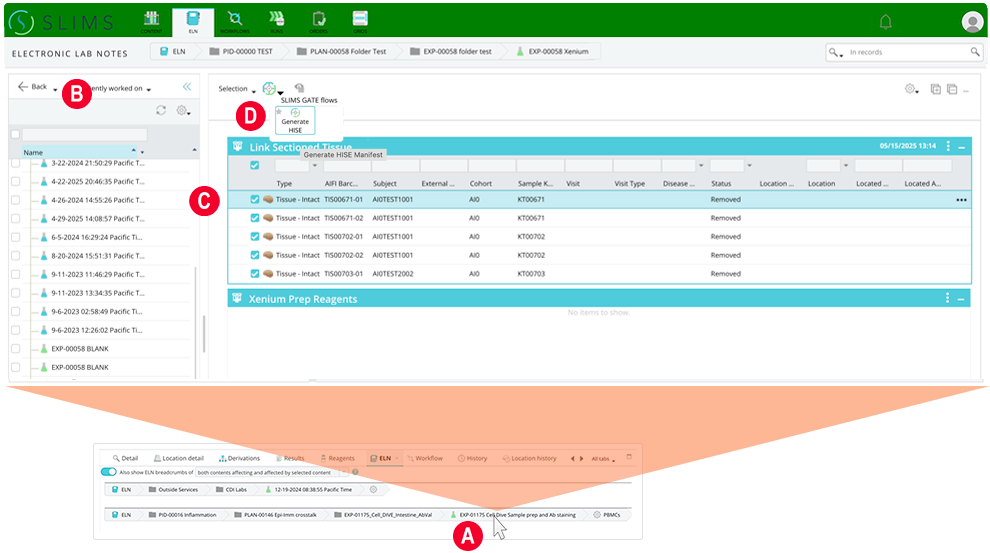
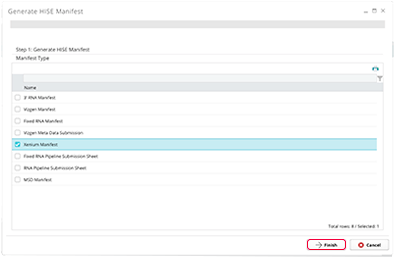
6. In the Generate HISE Manifest box, choose the type of manifest best suited to your project. (To create a manifest.csv in SLIMS, you must be using a Simplified ELN experiment.)
7. In the lower-left corner, click Finish.
| If the file type you want to declare doesn't exist in the project, or if the manifest is not available in LIMS, contact Support. |
 Create a tar file and ingest it into a watchfolder
After you create a manifest file, tar up the manifest with the files themselves. For instructions, see Step 2 of Ingest Data into the Project Store (Tutorial). When you drop the tar file into the watchfolder, HISE untars the files and uploads the data to the Project Store that's linked to the watchfolder. HISE also associates those files with the samples and file types declared in the manifest.
Option 2: Use the Project Store UI to Attach Metadata
The first method of adding metadata is to attach it at ingest (see Option 1). The second method is to attach the metadata later, after some experimentation. To use this latter method, follow the instructions below.
Instructions
Choose your account and project
1. Navigate to HISE, and use your organizational email address to sign in.
2. To see the account you're working on, hover over your initials in the upper-right corner.
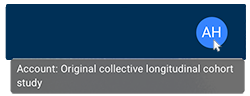
A. If it's the correct account, proceed to the next step.
B. If it's not the right account, use the following instructions to change it.
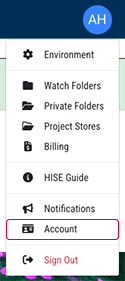
i. Click your initials.
ii. From the drop-down menu, choose Account.
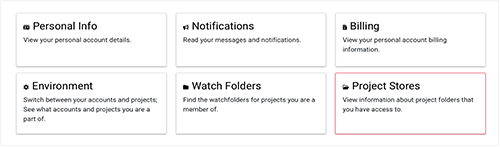
iii. On the Account screen, click the Environment card.

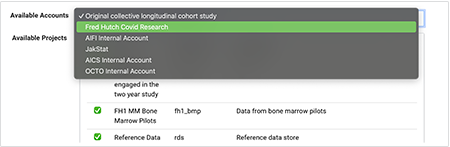
iv. From the Accounts tab on the Configure HISE Environment screen, scroll to the Available Accounts list, and click the arrow at right.

v. From the drop-down list, choose the correct account.
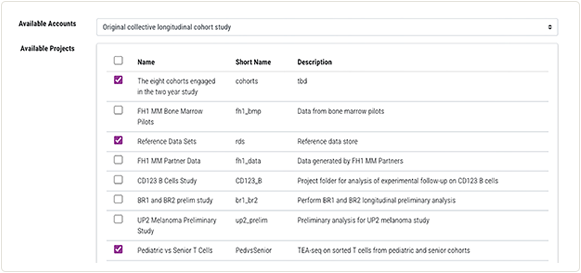
3. To select the projects you're working on, remain on the Accounts tab of the Configure HISE Environment screen.
Below the Available Accounts menu, in the Available Projects section, select the projects you want to work with.
Add metadata
1. Return to the Account screen, and click the Project Stores card.
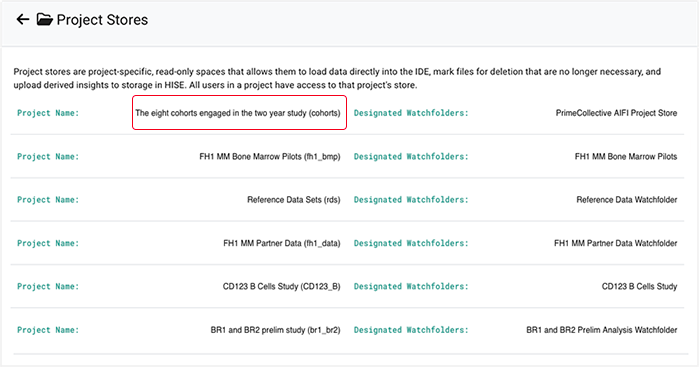
2. On the Project Stores screen, in the second column, click the name of the project you're working with.
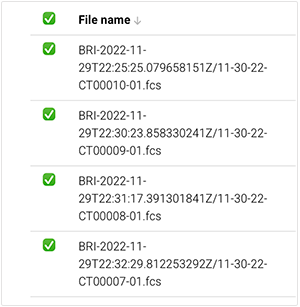
3. To include all files in the watchfolder, select the checkbox at the top of the far-left column.
4. In the upper-right corner of your screen, click Add file metadata.

5. In the Add file metadata dialog box, use the arrows to select the File type, Sample kit GUID, and Batch ID, as shown in the following image.
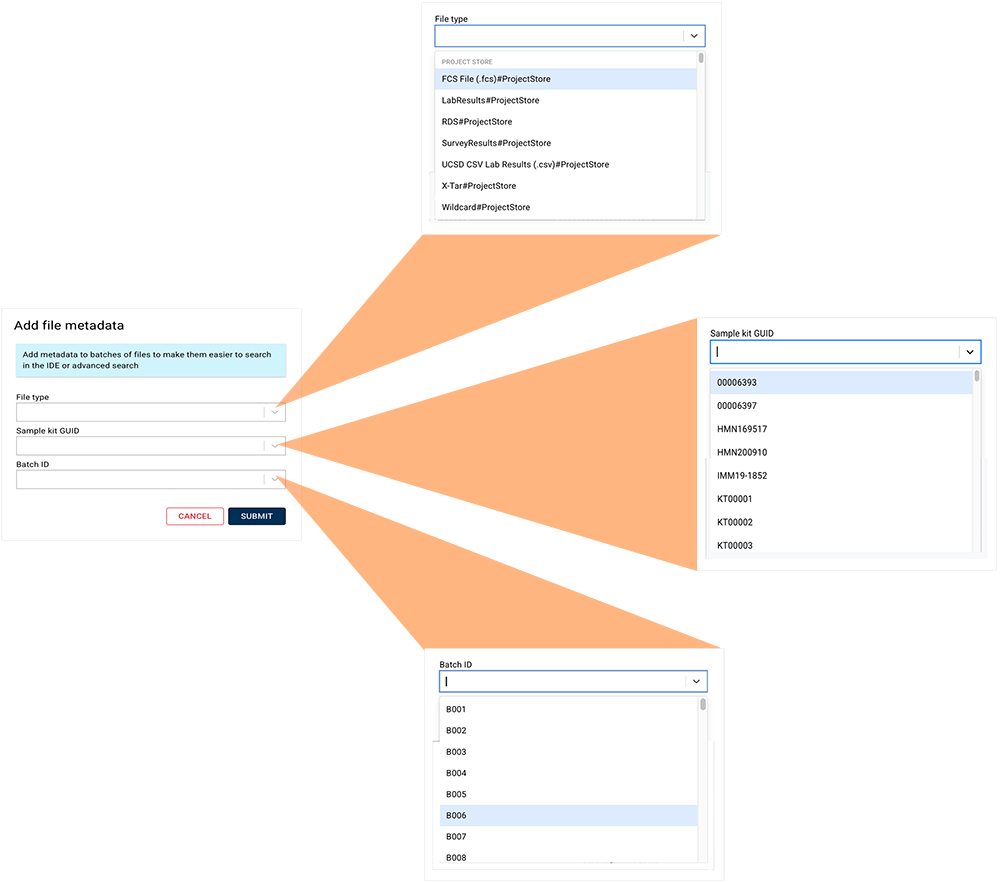
6. Click Submit.
 Related Resources
Create, Edit, or Delete Metadata