Last modified 2026-03-11 |
Convert a Conda IDE to a Pixi Environment (Tutorial)
 | Abbreviations Key |
| HISE | Human Immune System Explorer |
| IDE | integrated development environment |
| SDK | software development kit |
At a Glance
A Pixi environment is a directory that stores a curated set of packages and a manifest file that Pixi uses to resolve dependencies. This tutorial is for Conda users who want to switch an IDE over to using Pixi. We explain how to export an existing Conda-based IDE environment, initialize a Pixi project from that export, clean up and adjust the Pixi configuration, and install any additional packages you want. If you have questions or need help, contact Support.
- Step 1: Select your Conda IDE
- Step 2: Export the Conda environment and initialize a Pixi project
- Step 3: Install additional packages and activate the new environment
When to Use This Feature
Use this feature when you want to convert an existing Conda-based IDE to a Pixi environment. For a list of required packages, see Save a Custom Pixi Environment (Tutorial).
Instructions
 Select your Conda IDE
1. Navigate to HISE, and use your organizational email address to sign in.
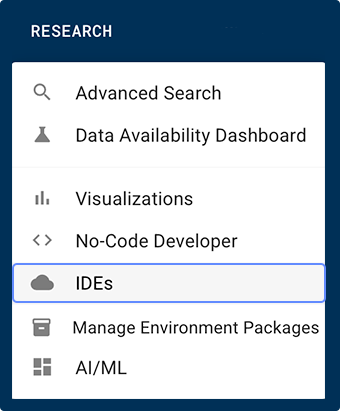
2. From the top navigation menu in HISE, click RESEARCH > IDEs.
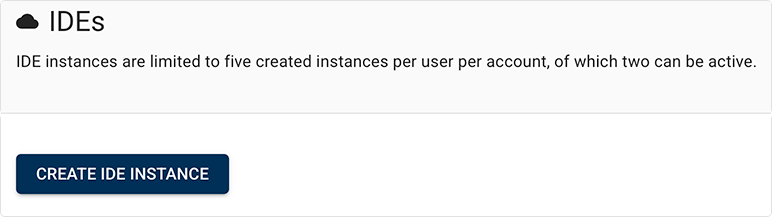
3. On the IDEs page, click CREATE IDE INSTANCE.
4. Choose a Conda IDE that you've previously saved, or select one that a colleague has saved and shared with you.

 Export the Conda environment and initialize a Pixi project
1. In your Conda IDE, open a terminal and export the current Conda environment:
conda env export > env.yaml
2. To initialize a Pixi project from that export, run the following command:
pixi init --import env.yaml
3. Edit the Pixi project configuration:
A. Open pixi.toml in your preferred text editor.
B. Find the [project] table, and change the name value to the name of your new Pixi environment.
C. Remove hisepy and any other packages you don't want to include in the new environment.
D. Save your changes and exit the text editor.
4. Activate the Pixi environment and deactivate the Conda environment variables:
pixi-shell
 | To activate a Pixi environment in a Conda IDE, you must use pixi-shell. This is a custom function that looks similar to the pixi shell command but has a different purpose. |
5. To ensure you don't inadvertently install packages into the wrong environment, run the following command (you should have to do this only once):
conda deactivate
 Install additional packages and activate the new environment
1. Use Pixi to install any additional packages you want to include in the new environment:
pixi add PACKAGE_1 PACKAGE_2 PACKAGE_3
2. Reinstall hisepy within the active Pixi environment:
|
3. To capture the current state of your Pixi environment in a new Pixi pack, call save_custom_pixi_environment(). Then use the new Pixi environment in an IDE. For details, see Save a Custom Pixi Environment (Tutorial).
 Related Resources
Use the Pixi Environment (Tutorial)
Use the Conda Environment (Tutorial)
Save a Custom Pixi Environment (Tutorial)