Last modified 2026-03-11 |
Save a Custom Pixi Environment (Tutorial)
 | Abbreviations Key | ||||
env | environment | SDK | software development kit | ||
| HISE | Human Immune System Explorer | str | string | ||
hp | hisepy | .toml | Tom's obvious, minimal language | ||
| IDE | integrated development environment |
At a Glance
A Pixi environment is a directory that contains your curated set of packages plus a manifest used to resolve dependencies. Your custom Pixi environment can be saved and reused when you or your collaborators create new IDEs. The environment is also easy to export and trace for transparency and reproducibility. This tutorial explains how to use the SDK, Pixi, and Google Cloud Build to create a custom Pixi environment for your IDE. If you have questions or need help, contact Support.
- Step 1: Configure a Pixi environment
- Step 2: Create a Pixi IDE
- Step 3: (Optional) Install R packages
- Step 4: Save your Pixi environment
- Step 5: Use the saved custom Pixi environment in a new IDE
When to Use This Feature
Use this feature when you want to create a reusable Pixi-based IDE environment that other users can select from the HISE UI:
- Capture a Pixi environment from an existing IDE so others can reproduce the same configuration.
- Share a standard analysis environment with your team so that collaborators start with a consistent set of tools and libraries across IDEs.
- Preserve environment state for important analyses so you can return to the same package versions for follow-up work or review.
- Maintain separate Pixi environments for different workflows (for example, quick exploration vs. publication-ready analysis).
Don't use this feature if your project still relies on a Conda-only environment. If you don't need to reuse or share your environment, use Conda tools or create a one-off Pixi setup instead.
Required Packages
To import hisepy functions, every Pixi and Conda environment must contain the packages listed in the accompanying box.
 | For hisepy to load, your custom environment must include the following packages: | |
|
| |
SDK Method
This SDK call saves a custom Pixi environment with additional metadata.
Signature
The box below shows the method signature for save_custom_pixi_environment() (Python) | saveCustomPixiEnvironment (R).
 save_custom_pixi_environment()
hp.save_custom_pixi_environment(
    env_name: str,
    description: str,
    languages: list[str],
)
saveCustomPixiEnvironment()
hp.saveCustomPixiEnvironment(
    envName: str,
    description: str,
    languages: list[str],
)
Parameters
The parameters for this method are listed in the following table. In each key:value pair, the value must be of type list.
| Parameter | Data type | Required or optional | Description |
env_name | str | required | Name of the environment in the HISE UI. |
description | str | required | Description of the environment or use cases. |
languages | list[str] | required | Response from the HISE API when saving the environment. Examples: ("python") or ("python", "r") |
| Parameter | Data type | Required or optional | Description |
envName | str | required | Name of the environment in the HISE UI. |
description | str | required | Description of the environment or use cases. |
languages | list[str] | required | Response from the HISE API when saving the environment. Examples: c("python") or c("python", "r"). |
 Get Help
If you get stuck while creating your custom Pixi environment, refer to the steps of this tutorial (examples are in Python unless otherwise specified). To use the baked-in help in your IDE, try one of the following commands.
| Python | R | Output |
help(save_custom_pixi_environment) | help(saveCustomPixiEnvironment) | Function signature, list of parameters, class, and a brief description of the method in a compact plain-text format |
hp.save_custom_pixi_environment? | ?saveCustomPixiEnvironment | Method signature, docstring (description), file location, and file type in more readable format |
hp.save_custom_pixi_environment?? | hise::saveCustomPixiEnvironment | Signature, docstring, file path, a verbose set of metadata, and the source code for the method |
Still not working? File a Support ticket.
Instructions
 Configure a Pixi environment
1. Navigate to HISE, and use your organizational email address to sign in.
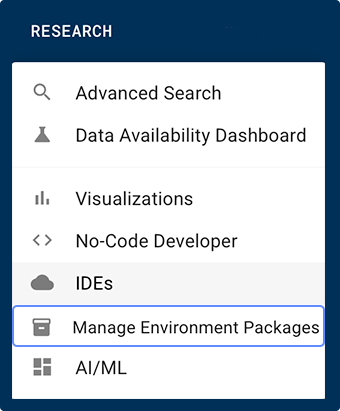
2. From the top navigation menu in HISE, click RESEARCH > Manage Evironment Packages.
3. On the Manage Environment Packages page, click CREATE ENVIRONMENT.

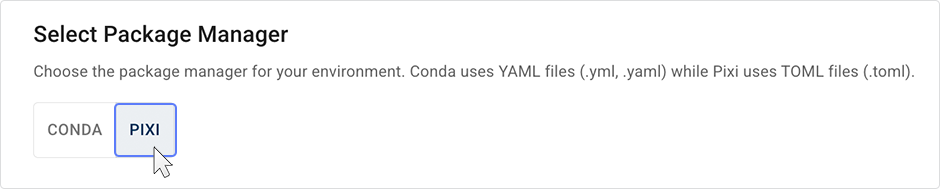
4. On the Select Package Manager page, toggle to the Pixi tab.
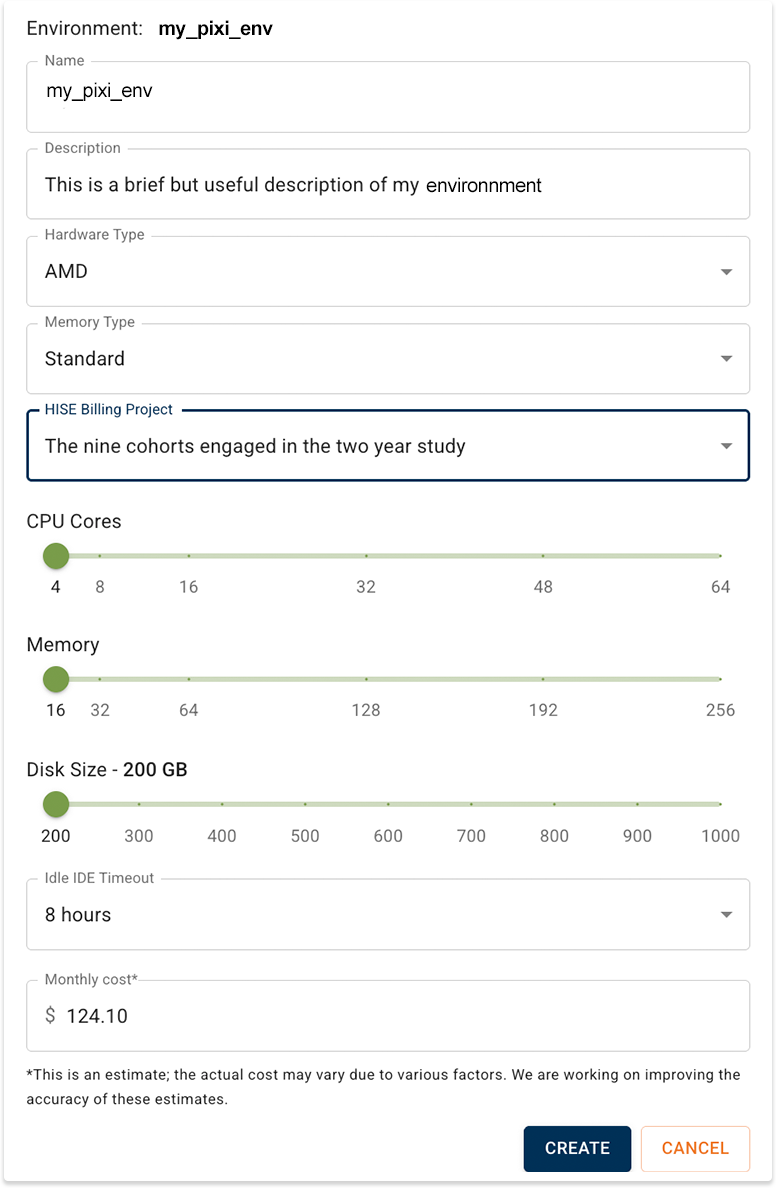
5. In the Create Pixi Environment dialog box, enter the requested details:
A. In the Name field, enter a name for yor IDE (for example, "Single-cell RNA-seq – Pixi")
B. In the Description field, enter a brief description of the key packages or analysis tasks included in your custom environment and the languages you tested in this environment.
C. In the Language field, keep the default language, Python, or click the arrow and select R from the drop-down menu. If applicable, you can select both.
D. In the Privacy Settings field, keep the default PRIVATE, or click SHARED to share your IDE with all colleagues who have access to this project. To share your IDE with specified users, click SELECT USERS, and add add their email addresses to the Share with users field.
E. To improve the discoverability of your shared IDE, enter one or more tags into the Tags field. Use the key:value format.
F. Click CHOOSE FILE, and upload a pixi.toml or pyproject.toml configuration file.
G. Click SAVE CHANGES.
 Create a Pixi IDE
1. Refresh your screen, and click the card that represents the Pixi environment you created in Step 1.
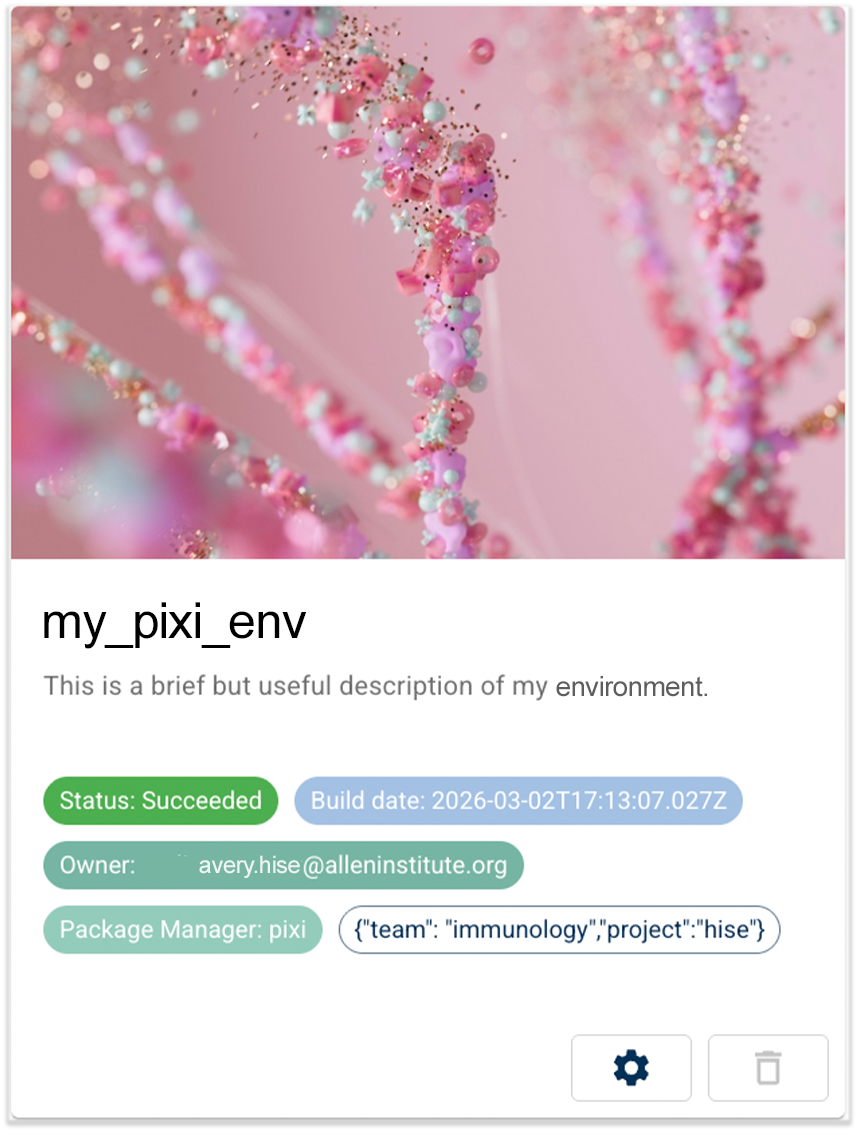
A chip on the front of the card verifies that it's a Pixi environment.

2. On the Environment Details page, click CREATE IDE.

3. On the IDE Settings page, enter the requested information, and click CREATE.

 (Optional) Install R packages
You can install R packages, including large Bioconductor-style packages, in the same IDE. Use Conda within the Pixi shell to manage and install these packages.
1. In your IDE, open a Pixi shell. For instructions, see Step 2 of Install a Github Package in a Pixi IDE Environment (Tutorial). Confirm that you can load the package from R (for example, library(yourPackage)).
2. If your custom Pixi environment provides a helper to copy R package source tarballs into the environment, use it to include the tar files in the Pixi pack.
| Pixi pack doesn't treat R source tarballs the same way it treats Python wheels. Even when tar files are present at build time, Pixi doesn't record them as injectable artifacts in the pack, so they won't automatically reinstall when you unpack the Pixi pack in a new IDE.
If the R packages you installed in the source IDE (for example, ArchR) are missing from your new custom environment after creating an IDE from your Pixi pack, try the following troubleshooting tips.
|
 Save your Pixi environment
When you're satisfied with your custom Pixi IDE environment, save a Pixi pack to capture it for future use. This tutorial assumes Cloud Build and the IDE management service are already configured to handle Pixi packs. At a high level, the Pixi pack environment save flow takes the pixi.toml and pixi.lock files from your active environment, injects any Python package files (wheels) from the environment’s PyPI directory, and sends these files to the IDE management service. This service stores them and configures Cloud Build tasks that install the packages when the IDE is created. Pixi pack supports only PyPI wheels, not source distributions, such as most R tarballs.
1. Open the Pixi-based IDE you created in Step 3,
2. To confirm that the IDE is using a Pixi environment, open a terminal in the IDE, and run the following command:
pixi info
Locate the environment directory that contains pixi.toml, pixi.lock, and the internal Pixi folders. You need these files to save the Pixi pack. If your IDE uses the default Conda environment manager, migrate to a Pixi environment before you continue. |
3. Install any additional GitHub-hosted Python packages you need. For details, see Install a GitHub Package (Tutorial). Be sure to import the package and confirm that it's installed correctly. See the tutorial for instructions.
4. Open a Python notebook. In the first cell, use the following command to import the HISE SDK. Then press Shift+Enter to run the cell.
import hisepy as hp
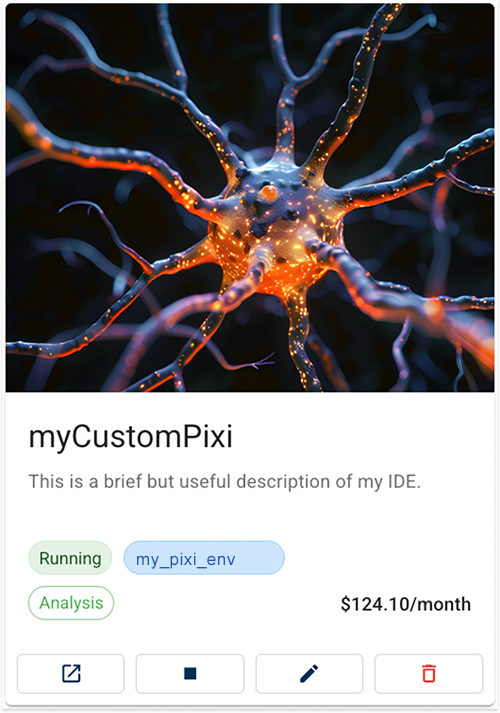
5. To make the SDK call, enter the following in the second cell of your notebook, and run the cell. This creates a card you can select from the IDE creation workflow in order to reuse this environment.
hp.save_custom_pixi_environment(
    env_name="myCustomPixi",
    description="Pixi environment for testing and analysis. Includes project-specific GitHub    utilities and is compatible with Python.",
    languages=["python"]
)
 Use the saved custom Pixi environment in a new IDE
After you save your custom Pixi environment with hp.save_custom_pixi_environment(), HISE makes it available as a reusable saved custom Pixi environment card you can select from the IDE creation workflow. You can use it to create additional IDEs with the same configuration.
When you save a custom Pixi environment, HISE passes the pixi.toml, pixi.lock, and any bundled Python wheel files to Cloud Build. Cloud Build uses these files and the tasks defined in pixi.toml to reconstruct the environment each time a new IDE is created from the saved Pixi environment. |
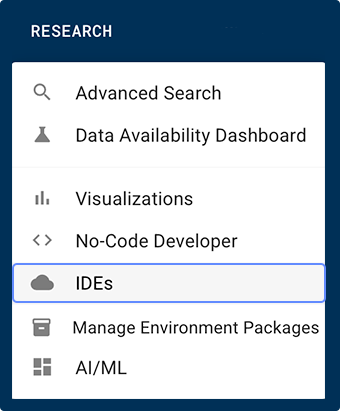
1. From the top navigation menu, click RESEARCH, and choose IDEs from the drop-down menu.
2. To use your new saved Pixi environment, click the card that represents the environment you captured in Step 5.
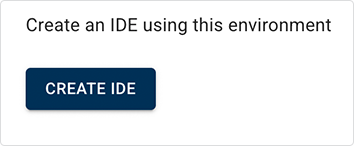
3. On the Create an IDE with this package page, click CREATE IDE.
4. On the IDE Settings page, enter the requested information (Name, Description, and HISE Billing Project), and click CREATE.
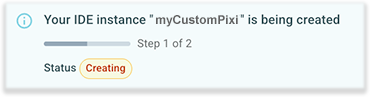
5. Wait while the IDE is provisioned. You can monitor its status on the IDE Details page.
6. Click the boxed arrow icon in the lower-left corner of the card to open the IDE. 
7. To verify that your custom environment is in use, open a terminal in your IDE, and run pixi info. The output should looks something like the block below:
|
 Related Resources