| Last modified 2025-04-11 |

Open a Workspace to Re-Execute a Certificate of Reproducibility (Tutorial)
 | Abbreviations Key |
| AIFI | Allen Institute for Immunology |
| CertPro | Certificate of Reproducibility |
| GCP | Google Cloud Platform |
| HISE | Human Immune System Explorer |
| STRIDES | Science and Technology Infrastructure for Discovery, Experimentation, and Sustainability [Initiative] |
At a Glance
Any visitor who browses Data Apps in the Explore portal can delve into AIFI research, visualizations, or data sets. Visitors who want to re-execute portions of another scientist's certificate of reproducibility (CertPro), however, must either be HISE users or establish a workspace guest account.
Do I Need a Workspace?
To re-execute portions of a certificate—for example, to re-execute a Jupyter notebook in its original environment—you must open a workspace guest account or be invited to use an existing one (see the section "Add a User to Your Workspace" in this document). Only the user who sets up the Google Cloud Platform (GCP) billing relationship can create a workspace.
But don't worry—even if you're not a HISE user and don't have a workspace of your own, you can browse the contents of all posted Data Apps:
Explore visualizations
Trace research methodology from ingest to published result
See which research subjects, samples, and cohorts were used
See which automated or custom pipelines were used to process the data
- Download HISE data or Jupyter notebooks (Google authentication required)
What Is a Workspace?
A workspace is a separate, fully provisioned computational space in which the steps of a CertPro can be re-executed in an environment that mimics the original tool stack. The workspace is built on GCP. If you're a HISE user, you have an institutional account that manages GCP billing and payment for you. If you're not a HISE or STRIDES user (see the accompanying note), any storage or compute costs you incur are charged directly to your GCP account. To establish a workspace, you must have a GCP billing ID. Follow the instructions below to create one and start your workspace.
HISE Users Registered HISE users automatically receive workspaces for CertPro re-execution. To find yours, log in to HISE and navigate to COLLABORATION SPACE > Data Apps. NIH STRIDES Scientists enrolled in STRIDES can use their STRIDES billing ID. For details, see the STRIDES website. |
Set Up a Workspace
Instructions
 Set up a GCP billing ID
1. To set up a GCP billing ID with account-level permissions, follow the linked instructions.
2. If you're not a member of a Google Cloud organization, you can set up your GCP billing ID using project-level permissions. Follow the linked instructions.
 Sign in with Google
1. Navigate to HISE, and use your organizational email address to sign in.
2. To set up billing for a publication, follow step A. For a Data App, follow step B.
A. Publications
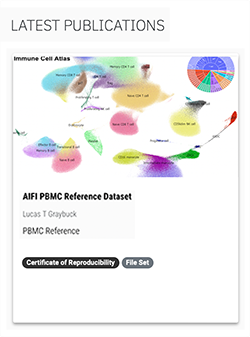
i. Scroll down to the LATEST PUBLICATIONS section, and click on the publication you want to work with.
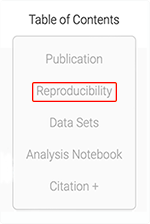
ii. At the top of the page, click Table of Contents, and choose Reproducibility from the drop-down list.
iii. On the Certificate of Reproducibility page, click Explore Publication.

B. Data Apps
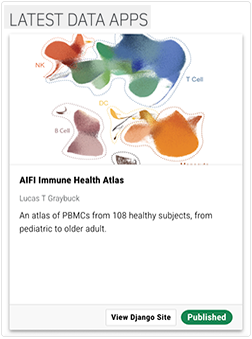
i. Navigate to the Data App whose certificate you want to execute.
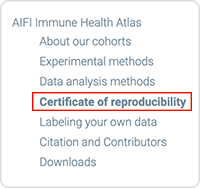
ii. Click CERTIFICATE OF REPRODUCIBILITY.
iii. On the HISE Accounts and Workspaces page, click Explore this Data App.

iv. On the Create Your Workspace screen, click Next.
3. On the Select Google Account screen, click Sign in with Google, and then choose your Gmail or other Google-associated email identity.
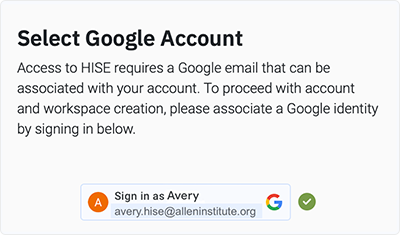
4. If prompted, use the camera on your mobile device to scan the QR code, and then follow the on-screen instructions to sign in. (The instructions vary, depending on your preferred sign-in method, such as touch ID or passkey.)
 Agree to terms and authorize billing
1. On the Terms and Conditions screen, read the Fees and Payment notice.
2. Click the terms and conditions link, and read the Allen Institute Terms of Use.
3. Close the window to return to the previous screen, and select both tiny checkboxes to indicate that you've read the notices and agree to the payment terms.
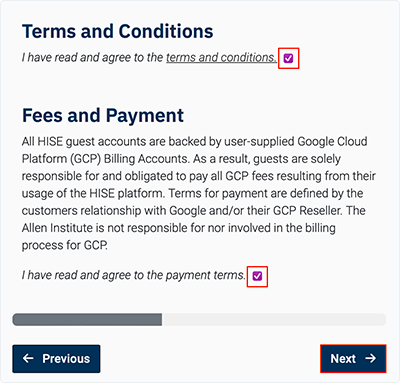
4. Click Next.
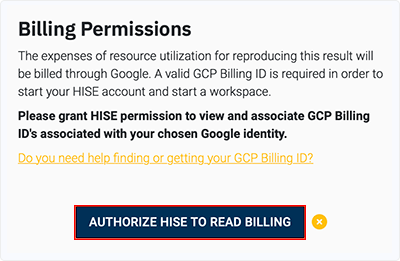
5. On the Billing Permissions page, to authorize HISE to view and associate your GCP billing ID with the selected Google identity, click AUTHORIZE HISE TO READ BILLING.
 Associate your GCP billing ID with HISE
1. On the Choose an account screen, select the same Google account you used in the previous steps.
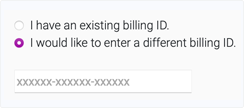
2. On the Billing Permissions page, enter your billing ID:
A. Click I have an existing billing ID, and choose your ID from the drop-down list.
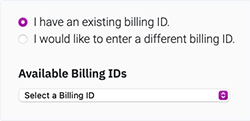
B. Alternatively, click I would like to enter a different billing ID, and enter a new 18-digit ID.
3. Click Next.
A. If you get an error message like this one, your request might have timed out. Refresh your screen and sign in again.

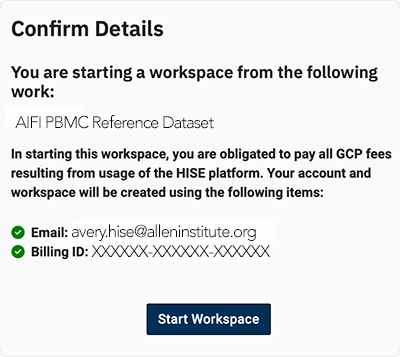
4. On the Confirm Details screen, review your email address and the origin of the work (AIFI PBMC Reference Dataset in this example), and click Start Workspace.
 Manage your workspace account
 View or open your workspace account
1. Navigate to HISE, and use your organizational email address to sign in.
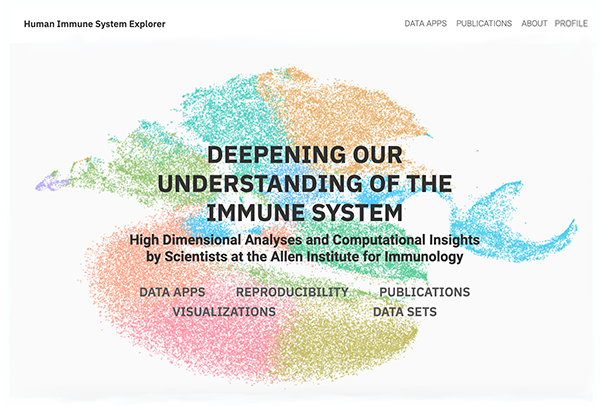
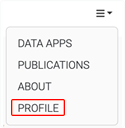
2. From the navigation menu, click LOGIN (left). Use your institutional email address or a gmail address. After you log in, or if you are already logged in, the menu shows PROFILE (right).
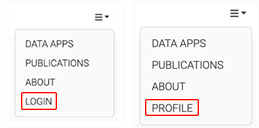
3. From the navigation menu, click PROFILE.
4. On the User Profile page, view your name, email address, and Guest tag.
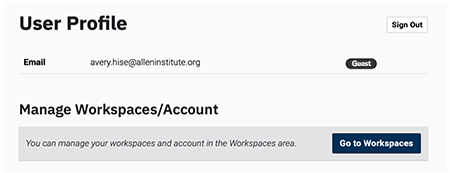
5. To open your workspace, click Go to Workspaces.

 Add a user to your workspace
To add a user to your payments profile, follow the linked instructions. Only account owners can add users. Other individual users must obtain their own GCP billing IDs. For details, see the preceding instructions.
 Sign out of your workspace account
1. Follow the instructions in the preceding section: View or Open Your Workspace Account.
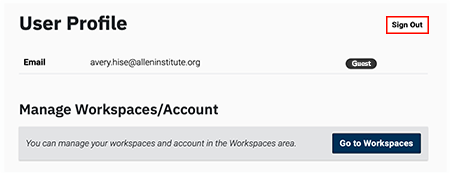
2. In the upper-right corner, click Sign Out.
 Related Resources
Get Started with Data Apps (Tutorial)