Reuse, Save, or Share an Advanced Search Query (Tutorial)
Last updated 2026-04-28At a Glance
This document explains how to save Advanced Search queries so you can reuse them later or share them with colleagues. Saved queries are private by default. You can share them either with selected colleagues (specified by email address) or with everyone who has project access. If you have questions or need help, contact Support .
When to Use This Feature
Use this feature when you want to:
Preserve complex search queries for repeated analysis
Share your search criteria with team members working on the same project
Document reproducible search workflows for research collaboration
Instructions
To save, share, or reuse an Advanced Search query, click the following tabs.
Save Your Query
To reuse your query or share it with colleagues, you must first save it.
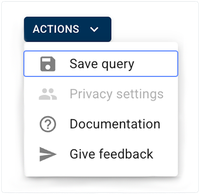
Click ACTIONS > Save query
Name the query, and click SAVE QUERY.
View the message in the confirmation window. Queries are private to you by default, as shown below the screen title in the accompanying image.
To make your query available to selected colleagues or to all colleagues with project access, see Use, Save, or Share a Query (Tutorial) .
Share a query
On the Saved & Shared Queries, page, in the Your Private Queries field, find the query you want to share.

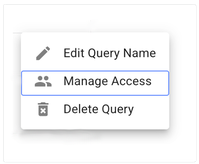
In the Actions column, click the ellipsis.
Click Manage Access.
(Optional) In the Query Privacy Settings dialog box, change the visibility.
A. To share your query with everyone in the account, click Shared.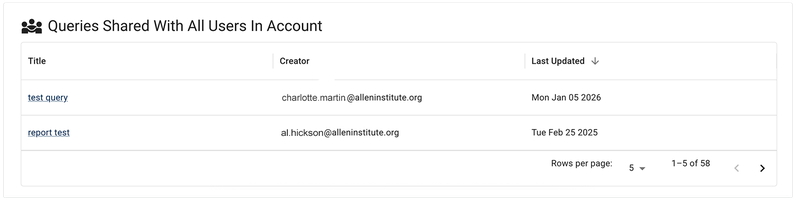
B. To share your query with specified people, click Share with selected users.
C. In the Select users field, in the drop-down list of email addresses, click the users with whom you want to share your query. The names listed in the Select users field represent everyone with account access. You can't share your query with users outside of your account.
Reuse a saved or shared query
Sign in to HISE, and navigate to Research > Advanced Search.
In the upper-right corner, click VIEW SAVED & SHARED.

Choose a saved private query (as shown in the accompanying image), a query that you've shared with one or more people, a query shared with you, or a query shared with everyone.

A. In the Your Private Queries section, click the title of the saved query you want to use.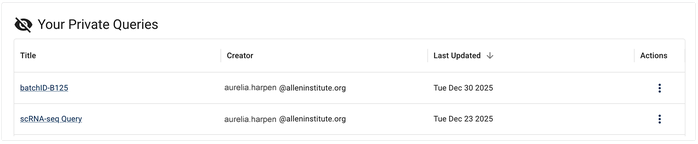
B. In the Queries You Have Shared section, click the title of the shared query you want to use.
C. In the Queries Shared with You section, click the title of the shared query you want to use.
D. In the Queries Shared with All Users in Account section, click the title of the shared query you want to use.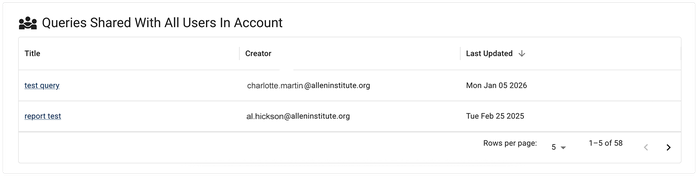
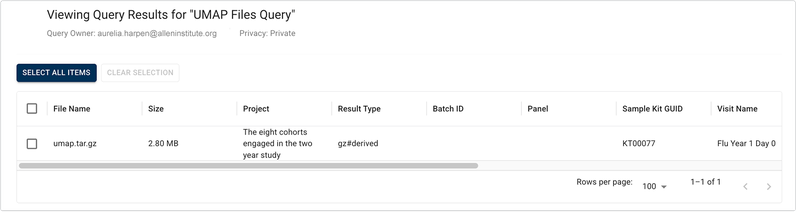
4. When the query opens, proceed directly to the results window. (You don't need to select filters, since filter selections are baked in to the saved query.) Use the checkboxes to select the items you want to use, as in the example shown here. To choose all results, click SELECT ALL ITEMS.
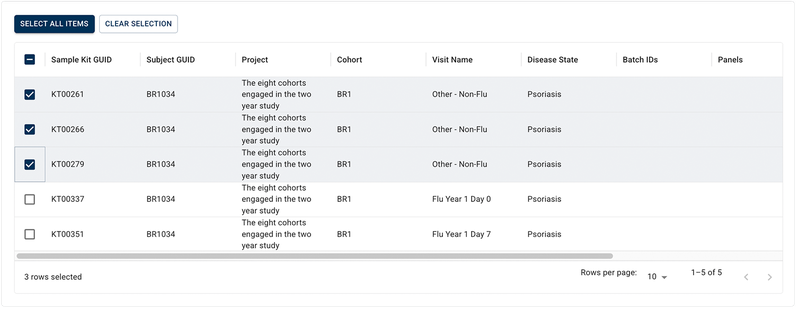
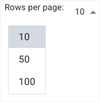
A. (Optional) To save time, you can adjust the number of rows per page displayed in the results window. In the lower-right corner of the table, click Rows per page. Then click the arrow to open the drop-down list, and select 10, 50, or 100. The default is 10.
B. To see how many results are displayed on the page (in this case, 1–10) and the total number of results returned (in this case, 200), check the lower-right corner of the results window.

C. Use the arrows to navigate through your results:
To move to the next page, click the right arrow (>).
To move to the previous page, click the left arrow (<).
The left arrow remains grayed out (inactive) while you are on the first page of results, as shown in the accompanying image.
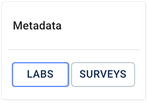
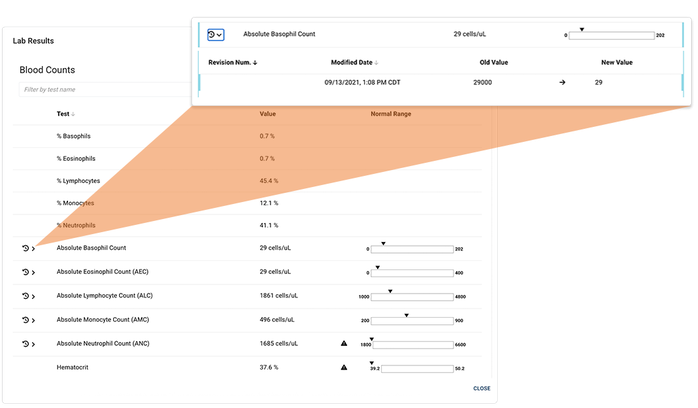
D. To view detailed lab results, in the Metadata column, click LABS.
Click the arrow to open the details panel for any result.
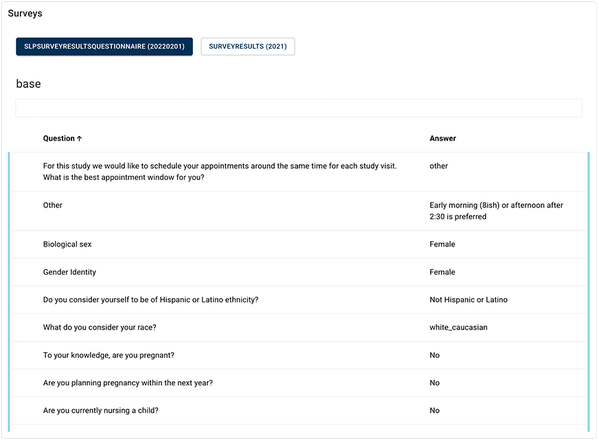
E. To view detailed survey results, in the Metadata column, click SURVEYS.

View the related survey results, and click CLOSE to return to your query.
F. From the floating menu, choose ADD TO FILE SET, CREATE FILE SET, GET UUIDS, or VISUALIZE (if available), depending on what you want to do next with the files.
